This post is dedicated to my friend who had some questions about stuffed pepper recipe. He expressed his concerns in a comment form, however Blogger didn't let me use enough characters to reply, so I had to make a whole new post.
First, this is the recipe we are talking about here:
http://tastymakeshappy.blogspot.com/2011/02/stuffed-peppers-ala-zorana-serbian.html?showComment=1336547385866#c3172060264751186235
Hi Z!
***Hello back to you my dear friend.***
I once again used your recipe to prepare some stuffed pepper. They are now happily baking in the oven.
***Making stuffed peppers at 1AM?! That’s dedication.***
That said, I actually have some time to report a few bugs in the recipe. It's not exactly anything wrong with the recipe itself, rather with the way I read it, and possibly how others may read it.
***Thanks for the very scientific approach to this. I am having to write very detailed step by work instructions at work, but I have to admit, I am not a very precise cook. One of the reason for it is that I am usually starving when I come home from work and I need to cook quick. That’s why I try to save the time by cutting up while cooking rather than preparing everything beforehand. If I could, I would have trained my cats to prepare all the ingredients for me before I come home, but they have not expressed any interested in cooking so far. Perhaps that’s because they prefer a raw diet. Also, their food comes in bite size pieces strait out of a bag and they never had to deal with these kind of issues. That’s too bad since they already have built in tools for shredding and cutting, and also have plenty of time on their paws. Having said this, I am having to do it all by myself while my stomach is growling and this is the best solution I could come up with.
Nevertheless, I will take it into the consider that not all cooks out there are Stavin’ Marvins, so I will try to be more detailed in my procedures from now on.***
Here goes.
The recipe text begins with "...heat the oil in a pan and add cut up bacon pieces."
Wait, that means I should have cut the bacon up in pieces before I started? It would be good for the recipe to say what I need to do before I start cooking. So I can read and do, like on a checklist.
***If you need more time to cut the bacon, I suggest you prepare it before you start heating the oil. You don’t want the oil to start burning. Seriously, it can catch on fire. For me, the time it takes the oil to heat is enough to cut the bacon (assumption: starting with bacon slices and not a live pig).***
"When meat look cooked, add rice. Mix together for a couple of minutes. While this is cooking, core the peppers". But, the meat and rice are almost done at this point; and I have yet to core the peppers. How much actual time do I have to core peppers now? Maybe it's better to do it beforehand? The recipe doesn't say.
***It takes about 30 seconds to core the peppers (snip snip), and the meat and rice won’t go anywhere. The sautéing time does not need to be exact because they will get plenty of more cooing I the oven.***
You should probably emphasize that one should not try to save time by stuffing peppers while the mix is still hot.
***I stuff the peppers while the mix is hot strait from the frying pan. The peppers have thick walls and are pretty good insulators while still raw.***
Then it says: "when bacon starts to cook, add onion, garlic and carrot". Wait, that means I should have already cleaned and cut them?
***I work on cutting those while the bacon is cooking. Perhaps not everyone is in starving condition when they cook, and may not want to rush as much as I do. You are right, I should add the prep list of specific form factors each ingredient needs to be in.***
Then you say "separate the bay leaves". How do I do that, if they fall apart while mixing? Maybe a tip about bay leaf preservation and fishing would be useful.
***Bay leaves shouldn’t fall apart when cooking. You can fish them out with a fork or a spoon. Fishing hooks and bate are not necessary in most cases. ***
"Close peppers with the tomato slices you cut out earlier" Oh, I was supposed to cut out tomato slices earlier? Oops...
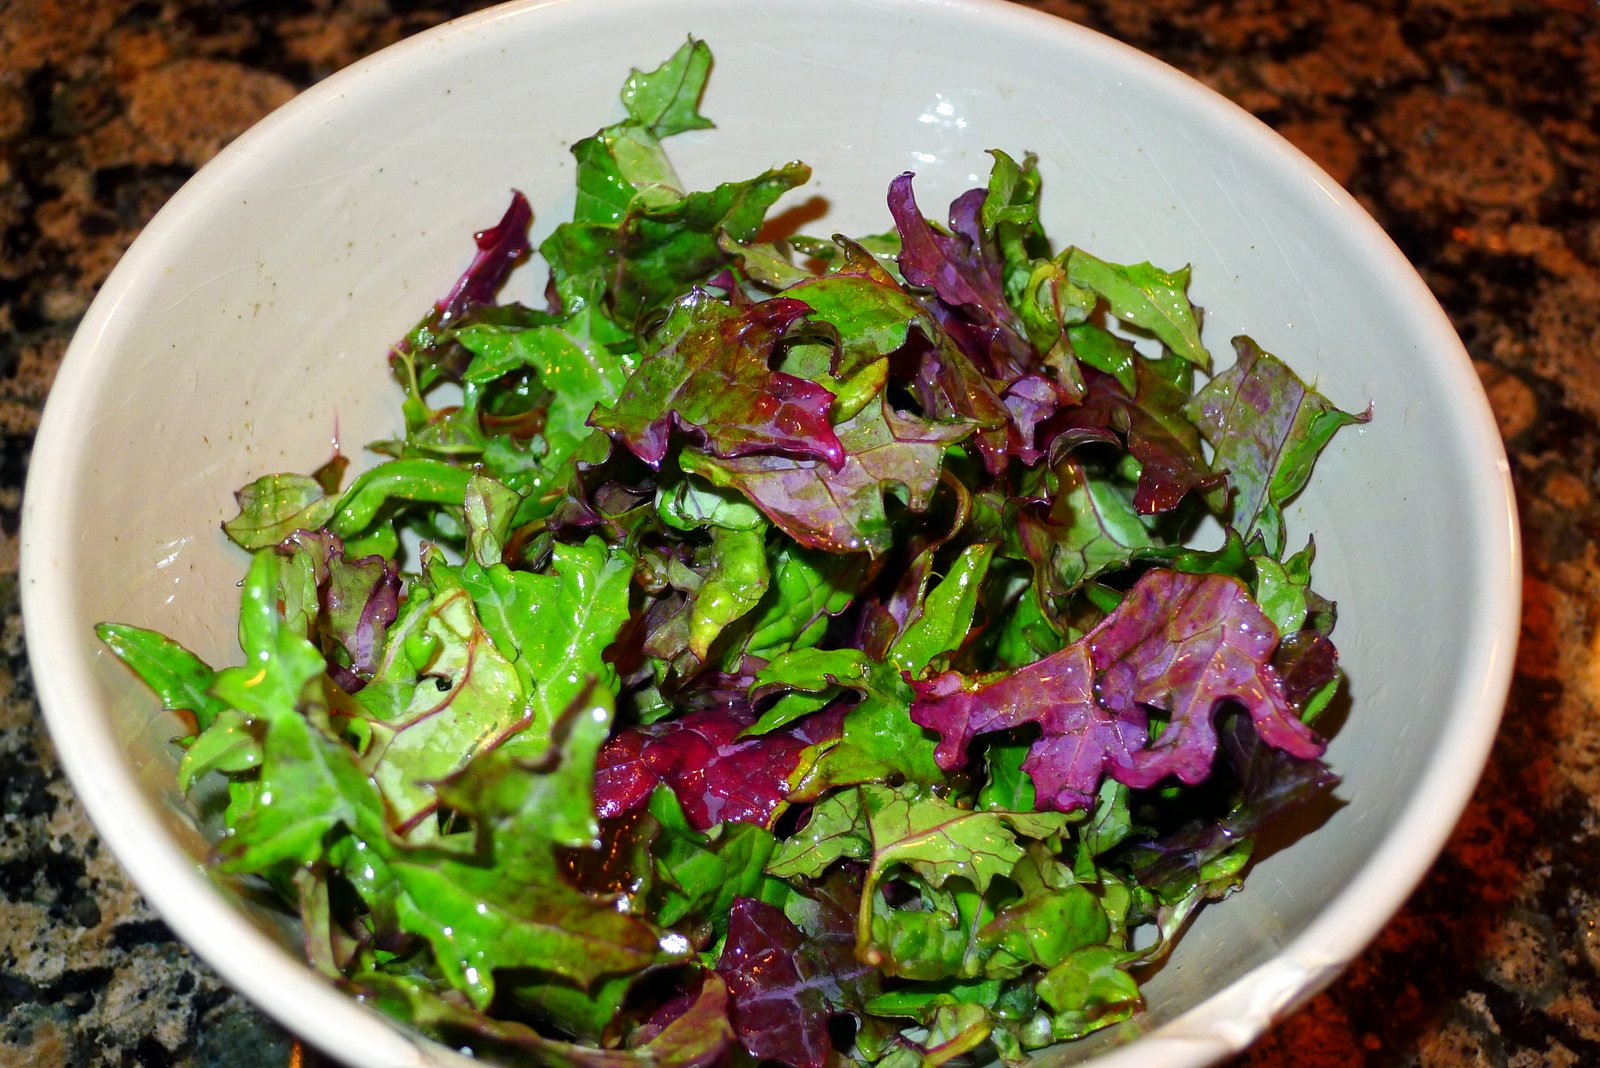
***It says in the list of ingredients: “1 tomato, sliced”. How would you stuff peppers with the whole tomato anyways? You can also view cooking as an art for where you can express yourself and add your own touch to this recipe. Note how I closed the peppers in the picture above with their own tops. Now, they are not topless.***
"Please the peppers in a oven safe deep dish." I hope they were pleased. :)
***I hope too!***
***"Cast iron baking dishes are especially good..." Wait, I actually needed to have an iron baking dish all the while? Oh, shucks...
No, you don’t actually need one, I just said they are especially good, but any oven safe baking dish will do the job. However, the peppers may not be as pleased as much as they would have been if they were cooked in the cast iron dish.***
"De glaze the pan whit wine and water." Ummm, what does it mean to 'de glaze'? I kind of figured out that it's basically 'washing' the pan using wine, water and tomato paste, but would be cool to mention it for those of us who (obviously) don't have a first clue about cooking.
***Here is a Wikipedia link on deglazing a pan: http://en.wikipedia.org/wiki/Deglazing_(cooking)
I agree. I should have added detailed instructions on how to properly deglaze a pan. Actually, I know how you feel. I have a similar experience. When I was little, my parents bought me an origami book which I had been wanting for a long time and I was super excited to finally have it and start making all these awesome things out of paper. I flipped through the pages and found the first thing I wanted to make. I was ready with my very own piece of paper to make this masterpiece. I started to read the first line of the instructions with much anticipation. It said: “start with the XYZ fold…” I was disappointed, I did not know what the XYZ fold was. I did not give up. I wanted to make something. I flipped through pages again and found another interesting origami I was going to turn into a masterpiece. Again the first line instructed to me to “start with a LMN fold”. I was obviously not advanced enough for this book, and had to stick to making paper frogs and stupid hats and airplanes that don’t fly, and never became an origami master.
I know it sucks to be kept in the dark about such a crucial step in the process. But, if you haven’t burned your house from hot oil that caught on fire while you were cutting bacon, if your meat and rice didn't get away while you weren’t looking because you were focusing of carving art sculptures out of those peppers with a professional pepper carving tool set (I’m sure it exists), if you didn’t burn your hands from stuffing them with a hot mix and if you pleased your peppers well enough, then I am sure that not deglazing the pan properly won’t make a significant impact on the final product.***
So there. It's how I saw the recipe. Note, as I said before, this is nothing to say about your recipe or approach. It's just a perspective of a person who is a cooking newbie (or even lower), and gets easily confused.
On the other hand, adjusting the recipe to take into account the dumbasses like me who are trying to cook is what makes a difference between a good, and a great recipe. Making a good recipe seems to be more than just jotting down thoughts as they come.
Keep up the good work. The hungry await more recipes.
***Eat well, or stay hungry! Never resort to packaged and over processed food. You might just as well eat your shorts. It is probably more nutritious.***
-Tasty Makes Happy